Guitar Setup

Idiosyncrasies aside this is roughly applicable to any instrument of the guitar family. Of course when working on shorter scales such as mandolins then the measurements quoted need to be decreased accordingly.
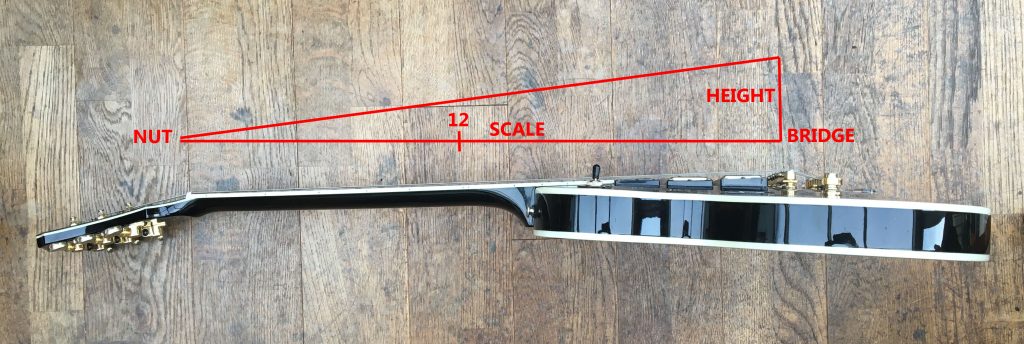
Guitar geometry

The above diagram sets out the most important elements of guitar geometry:

Guitar Setup Elements

  • Nut is the termination of the strings at the headstock, string height here is controlled by the depth of the string slots in the nut
  • Bridge is the termination of the strings on the body, string height (marked Height) here is controlled by saddle height
  • Scale is the full length of the string and the angle of the neck in relation to the body. This length is controlled by intonation adjustment.
  • 12 is the position of the 12th fret which is half way along the scale and where action is measured
  • neck relief is the slight upward curvature of the neck towards the nut; this is controlled with the truss rod.

This may look like a simplification but there is not much more to consider when setting up a guitar. The only tools you need are a 500mm straight edge (a good quality engineering rule will suffice), a string height gauge or ruler with 0.5mm divisions, some feeler gauges and a set of nut files. You will need to be able to measure to 0.1mm. This is my process and the following assumes that the frets and neck angle are in good order and do not require levelling and the neck is fitted with an adjustable truss rod:

Guitar Setup Method

  • Fit strings and bring up to full tension
  • Lay the straight edge onto the frets between the D and G strings. Adjust the truss rod until the neck is as flat as possible – positive neck relief will show as a small gap between the frets and straight edge around frets 7-12, negative relief will show as a rocking motion of the straight edge between frets 1 and 12 – hold the straight edge around fret 12 and gently tap it above fret 1. If you can hear the straight edge tapping fret 1 then the neck has negative relief (is back bowed) and the truss adjuster will have to be turned anticlockwise until the neck is flat.
  • measure the string height at fret 12. A steel strung acoustic should have a range of 1.5-2.5mm, an electric guitar should have a range of 1.2-1.7mm. The top E should be proportionately lower than the bottom E. If the bottom E is around 1.5mm then the top E should be around 1.0mm. If the strings are too high the instrument will feel clumsy and unplayable; if the strings are too low you will hear fret buzz and choked notes. Electric guitars have saddle height adjustment screws for this, with a few exceptions acoustic guitars are adjusted by filing or shimming the underside of the saddle. Because of the geometry the adjustment at the saddle is twice the desired change at fret 12. If I want to reduce action at 12 by 1mm then I will remove 2mm (or just under to play it safe) from the saddle.
  • Check the string height at fret 1. This should be around 0.4mm under the bottom E and 0,2mm under the top E. If they are higher then the nut slots need to be filed deeper, if they are too low (causing string buzz on fret 1) then the nut needs to be shimmed up or remade. I don’t find feeler gauges very useful for this because they tend to push up the string. These measurements are intended as a guide only and I largely do this by eye. Another good method is to file the nut slots down until all the strings gently buzz on fret 1 and then to shim up the nut by a known amount; I like to use standard business cards which are around 0.25mm thick (check this with callipers), the right height adjustment for this. A small drop of superglue on the nut will help to hold it in place.
  • Test every note on the fret board. Don’t forget to use note bends as well as these require slightly more string height and relief. If any of the notes buzz then action or neck relief need to be raised.
  • the neck can now be tuned to a players style with the truss rod. More heavy handed players and those bending a lot of notes will require slightly more neck relief so slacken the truss rod in 1/8th turn increments until the desired position is achieved.
  • If it is an electric guitar intonation can now (hopefully) be adjusted. this sets the string length. I use an electronic tuner to ascertain whether I am getting a perfect octave on the 12th fret on each string, this may not be possible to adjust perfectly, especially on guitars that do not have individual intonation adjustment. More heavy handed players will get sharper notes by applying more pressure so intonation will need to be set slightly flatter. People talk about adjusting intonation for multiple frets but this is largely pointless as only one adjustment is available.

Some things to consider

  • It is valuable to understand how to set up your instrument but bear in mind someone who does 200+ setups a year will have an easier time achieving good results.
  • If you aren’t confident then work in increments rather than trying to achieve your adjustment in one hit.
  • The frets have to be in good order. If there is any amount of fret wear or any of the frets are sitting high this will seriously limit the achievable results.
  • Adjusting neck relief on a neck with no truss rod is a very complex matter and should not be tackled by a novice
  • Your setup needs to be changed if you change string gauges or tuning and no adjustments should be made without the neck being under tension.
  • If sufficiently low action cannot be achieved then the instrument may need a neck reset or belly repair to correct the neck angle.
  • Be prepared to adjust your truss rod regularly with changes in weather, especially for instruments set up with very low action.

Guitar myths debunked

What do I know?

This face knows all

I’ve been a musician for over 30 years and I’ve been working on instruments on a professional basis for around 15 years. Something that never ceases to amuse me is the mythology that guitarists will buy into without even attempting any form of verification. I already know I will be shot down for some of this but trust me – my opinions come from actually working on instruments and playing them rather than googling for confirmation bias. But hey, people love a good myth. Here are some of my favourites. And before you start hurling vegetables remember my main motivation here is to save you money.

High end guitars are best

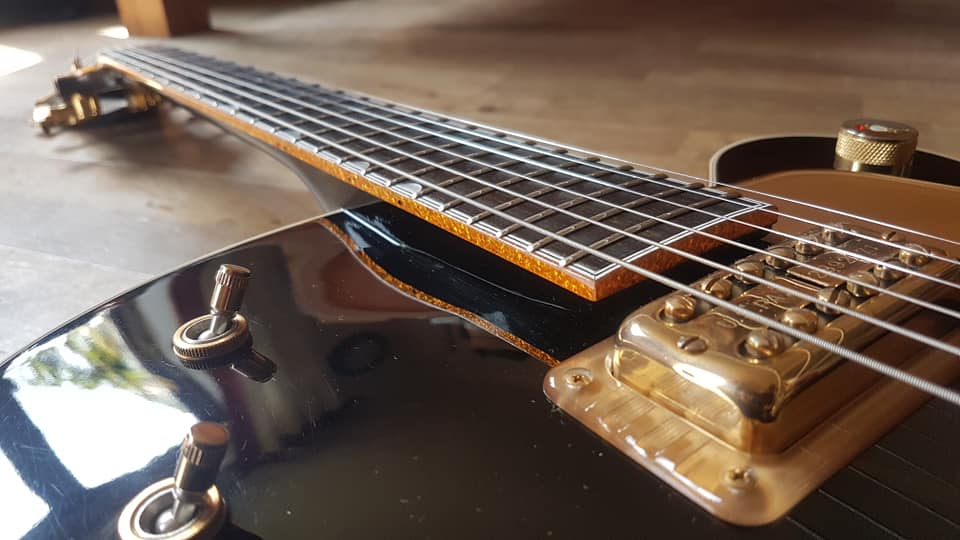
Gretsch Black Falcon

They just aren’t. Unless you’re a collector you’d have to be completely insane to favour Gibsons and Fenders over their Epiphone and Squier counterparts. I have worked on many guitars by the latter two that are really hard to improve on in recent years. The expensive headstock decals certainly won’t improve your playing so save your money. A good Epiphone with a decent fret dress and setup will play as good as any £10,000 Gibson, depending on how much value you place on eye candy. The acoustic market is much the same, you can buy a gobsmacking Takamine for a fraction of what Martin or Taylor charge for their flawed offerings.

You need boutique pickups

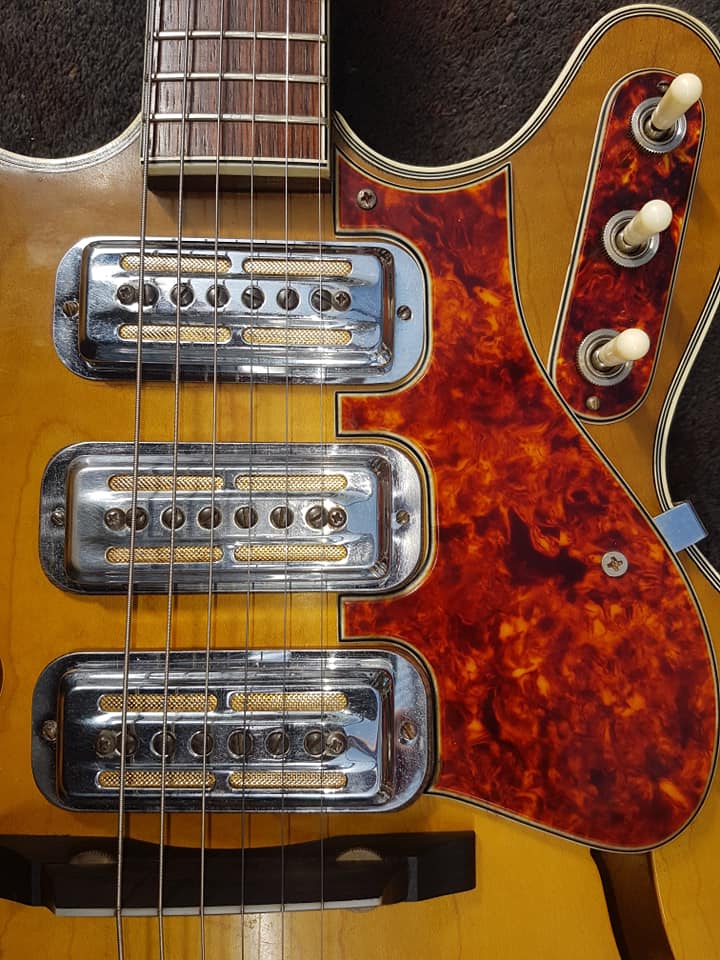
Harmony H75 Rowe Gold Foil Pickups

Not really. A pickup is a magnet wrapped up in copper wire, so there is not that much variation to be had beyond single coil vs humbucker. In my experience even active pickups don’t give much tone variation, and any differences are out of the window as soon as you crank the gain on your amp. Some of my all time favourite pickups are Epiphone humbuckers. As long as your pickups aren’t microphoning and hissing they’re perfect. The same goes for any of the electronic components – you can splash out on orange drop or bumblebee capacitors and high end pots if you like but don’t expect them to be superior to the market standard ones, which cost pence.

Tone woods

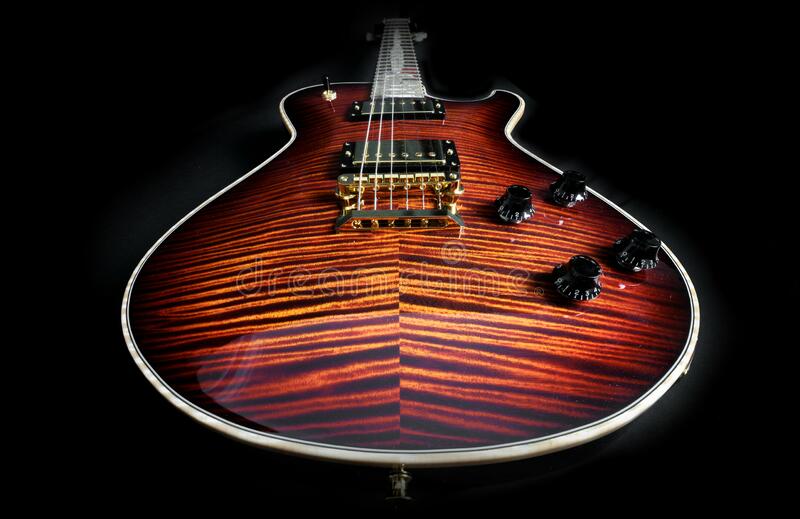
It’s pretty but can you hear it?

These are for acoustic instruments, not solid bodies electric ones. Unless all of your guitar work is done with pristinely clean sounds and no accompanying instruments tone wood is not a thing and even then you are better off learning to use an EQ than shelling out on a bog oak super strat; the end result will be much the same and much, much cheaper. Once you crank the gain the wood becomes so irrelevant your guitar might as well be made of egg noodles and epoxy. Remember that the most important components in your signal chain are the strings, pickups and speakers in the cabinet. Everything else is secondary.

Stainless steel frets

Not frets but close enough

People will tell you these last forever, and that they alter the tone of your guitar. What people do not realise is that hardness is not the same as wear resistance and whatever tonal differences you think you can hear are 100% subjective. A customer recently came to me for a refret after wearing an SS set out in under 5 months. Not immortal then. Once you properly research this you find that the chromium atoms in SS stick out above the surface and are easily dislodged which actually decreases wear resistance. Yes I’m sure they make for very smooth bends, but then any properly polished frets will. Your luthier will charge you twice as much to fit SS frets because they are a pain to work with and the main advantage you will see is corrosion resistance which is easily sidestepped by looking after your instrument properly. But you’ll be able to tell your mates you have stainless steel frets. Totally worth it. Not.

You can’t use furniture polish on guitars

What furniture polish will not do to your guitar

Au contraire, mon ami – guitars are similar enough to furniture for furniture polish to be absolutely fine. It will not attack the finish in any way, nor will the silicone build up spoiling the finish. The one likely issue can occur is when a guitar is not properly cleaned before refinishing but it’s nothing car body shops haven’t been dealing with for decades. Obviously exercise a lot more caution when cleaning anything with a shellac finish and keep the polish away from your electronics and hardware and you’ll be fine.

Lemon oil

Lemon? You bet.

This is one of the single most hilarious examples of snake oil in the industry. This stuff is literally lemon scented mineral oil so you might as well be wiping your unlacquered fret board down with engine oil, which is a lot cheaper. And it will dry out your fret board and encourage splitting and shrinkage because it contains almost no water and a wee bit of water is what your fret board needs to stay in one piece. I like to clean unlacquered fret boards with 0000 grade wire wool (which will not scratch anything) and micro mesh pads before cleaning with furniture polish and conditioning with a bees wax based furniture wax. This contains a bit of water so it moisturises the wood. Olive oil also works, neither one will cause the rancid build up you may have heard of provided they are applied properly and any excess is carefully removed.

You need to spend 1000s on lutherie tools

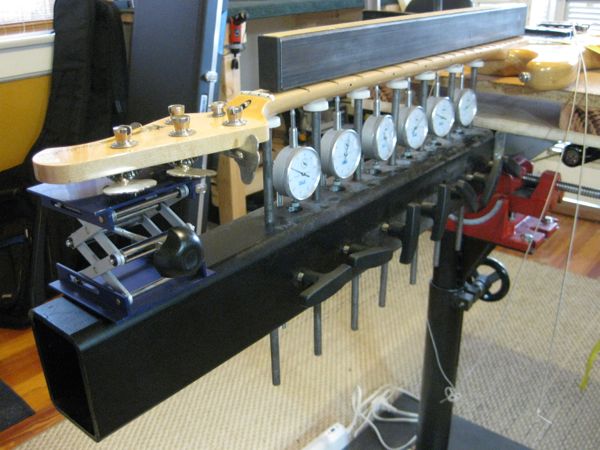
Neck jig image lifted from Strange Guitarworks. As impressive as it is pointless.

Not so. Every job that can be done with a router and expensive jigs can be done with skillful chisel work and patience. Guitar necks can be accurately processed with a £1000 neck jig, but it can be done equally well with a £10 straight edge and a pair of eyeballs. The work is about the knowledge and skills, not the tools. Don’t forget people have been making guitars for over 300 years and expensive tools are a very recent phenomenon. Don’t trust luthiers for having impressive tools, instead look for the results and recommendations they get.

Humidity, man

Lightly water damaged guitar

Now, I am speaking as someone living in a temperate seaside climate, but I often see problems like bellying acoustic guitars attributed to atmospheric conditions. If you live in Arizona your guitar may well dry out to the point of deforming and splitting. Wet season in Papua New Guinea may well murder your mandolin. But if you live in the UK where humidity rarely drops below 80% then drying out is less likely to be the cause of the belly on your Martin than the way it was built and what the torque of the strings does to the structure. I regularly repair bellies on acoustic guitars and humidity is never a consideration in my locality. Unless you live somewhere with an extreme climate like in the jungle or in a desert, both of which of course can cause staggering amounts of damage, all the humidity control gadgets out there are a total waste of money and a hard case does plenty to protect your instrument.

In conclusion, if you want to sound amazing then the best thing you can spend your money on is lessons and the best thing you can do is practise. Save your pennies and happy playing.


© 2011-2023 All Rights Reserved: BudeStrings, 57 Agnes Close, Bude, Cornwall, EX23 8SB, UK, 01288 356994 / 07970 222780